Teach Me Something: Ashley Teaches Foraged Arrangements
We’re spending a lot of time at home, and since it’s cold out now, and the sun is still setting way too early, and the pandemic is still raging outdoors, we’re more inclined to stay in.
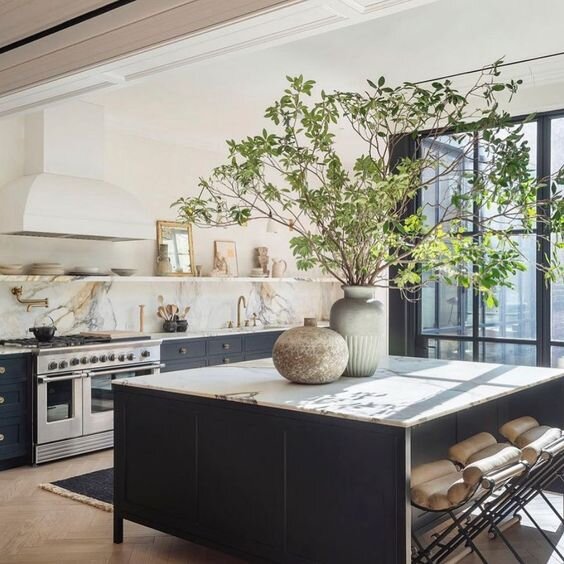
I love building little design moments around my home, whether it’s a display of art books or a seasonal arrangement. Looking for a way to cure the stir-crazies, and a reason to get creative, I set out to create a foraged arrangements.

Portrait by Gaelle Elma
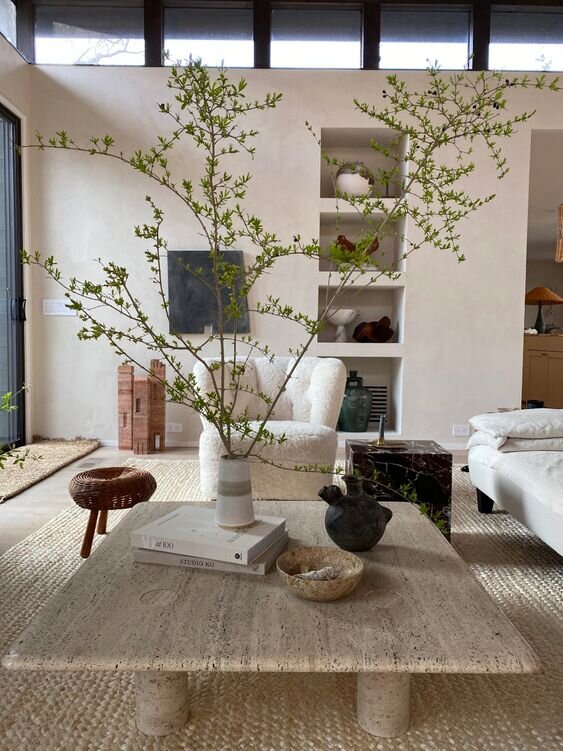
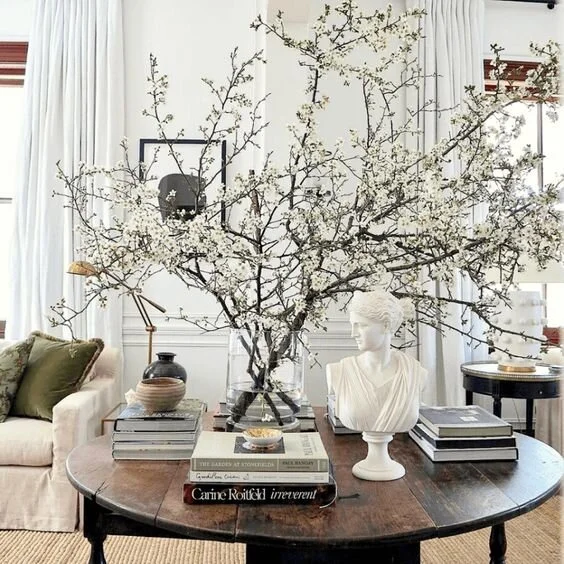
One of my home design faves, Athena Calderone, is the queen of big branch and foraged arrangements. And like Athena, I scour my neighborhood for interesting dried or live flora that can’t be found in the local market to make unique centerpieces and unexpected design moments in my home—and for free!
The inherent architecture of branches lead the eyes into into a focal point in the room. The benefit of sourcing in Fall and Winter is that much of the plant life is dormant, so you don’t have to worry about bringing insects home or being stung or bitten while sourcing, and the dried flora will last until you decide to get rid of it.
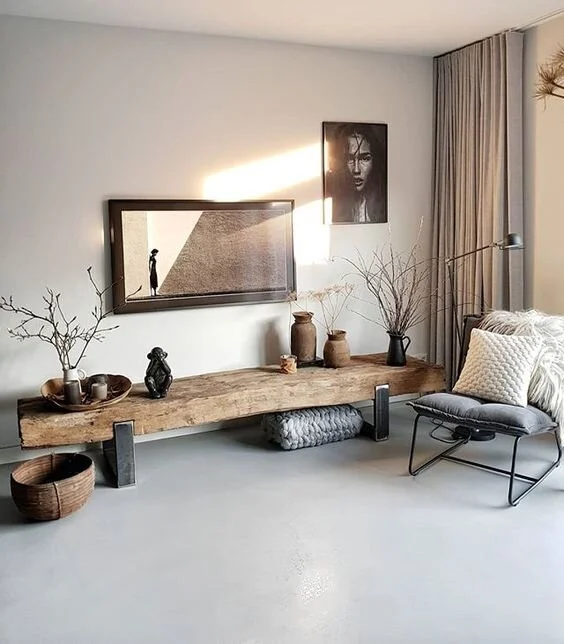
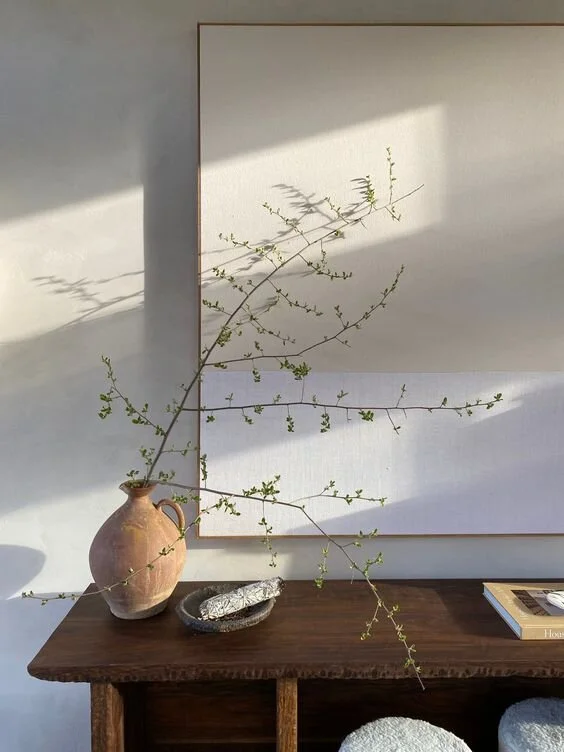
Inspiration

The Process
If you haven’t had the chance to check out the process video of my arrangement over @crwnmag on Instagram, then head over and catch the action. In the meantime, here’s the tools I used to create mine.
Antique Butter Churn - Can usually find in antique stores, but you can use any vessel with character. I love Zara Home for textural vases lately, and Pottery Barn has a broad selection .
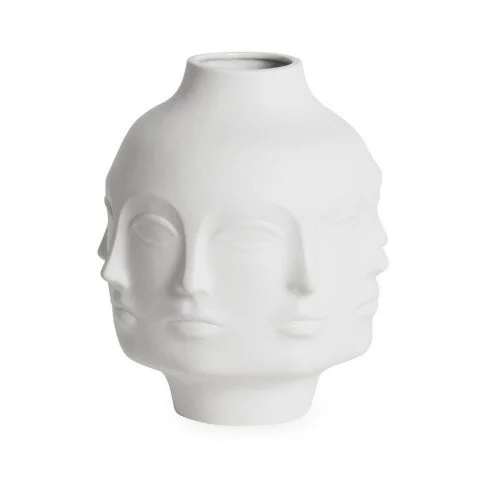
Dora Maar Vase by Jonathan Adler - I wanted this vase for so long and then received it for my birthday as a surprise! It’s quite pricy but there’s some face-vase dupes out there.
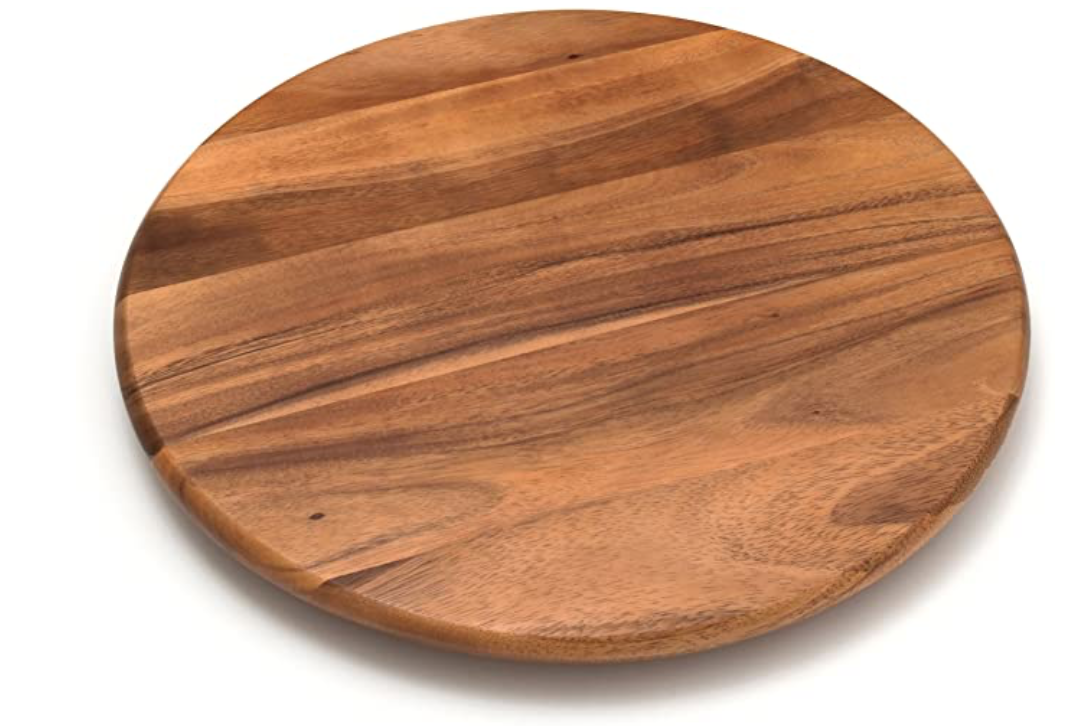
Lazy Susan - For giving you a 360 view of your arrangement
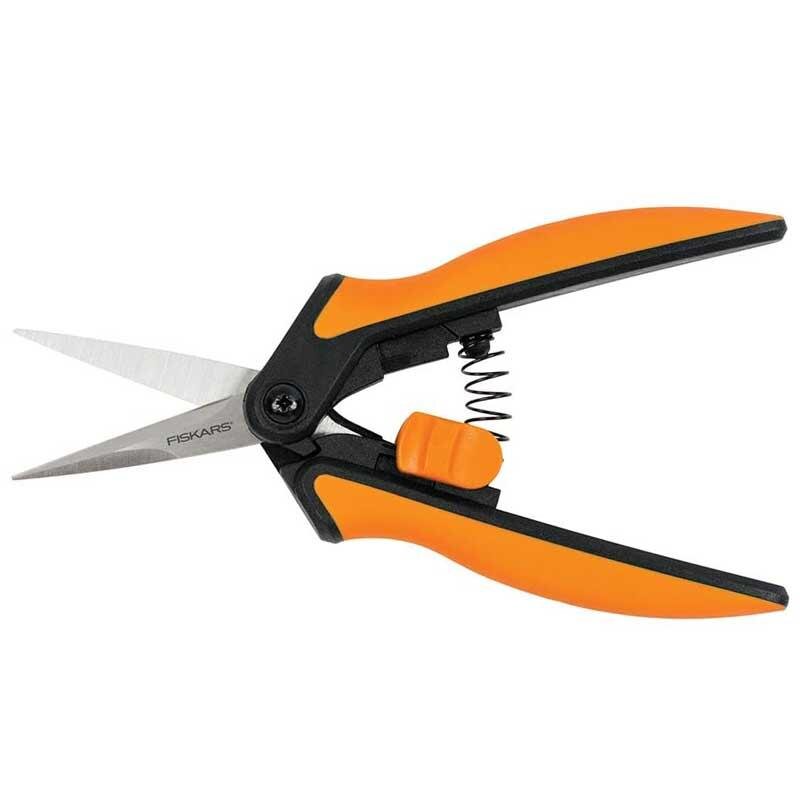
Scissors or Garden Shears
Tips for Arranging
Start with the placement of your taller pieces to get a feel for the overall shape of your piece.
Trim the lower branches of your taller pieces so they can stand alone as a statement.
Fill in the base with the bushier elements to hold everything in place, taking care to stagger the height so that each piece isn’t the same height. You can stand the piece up against the branch to check the height before cutting.
There’s really no right or wrong way to arrange, just let the eye lead you and trust your choices.
Don’t be scared to throw some wacky elements in there. I like to add width by throwing in a branch that will shoot off to the far left or right.
Spin the arrangement around to check how it’s going and make adjustments based on your preferences.
You can find Ashley over at @hiaj on Instagram or at www.crwnmag.com/ashley for more Stories!